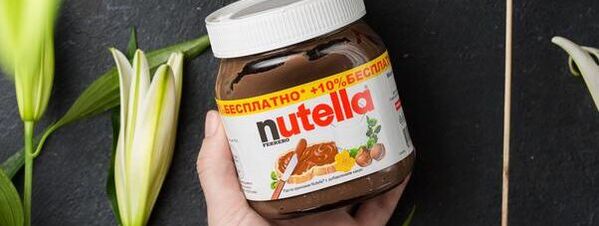
 I mean it's the holidays right. Why do we need an excuse to make some decadent cookies on a Monday night? We don't! So, that's what I did. I made some fun Nutella ginger cookies. These cookies barely have any additional sugar. I added some spice to balance out the sweetness of the Nutella. Super easy, soft, and yummy cookies. Added bonus? A super easy recipe to make with your little ones. My niece and I had a blast making these together with a low commitment situation. Perfect for pre-bedtime! I hope you enjoy as much as we did! Ingredients:
Recipe:
Enjoy with a glass of milk by the fire. Nothing more satisfying this time of year. xo nishita 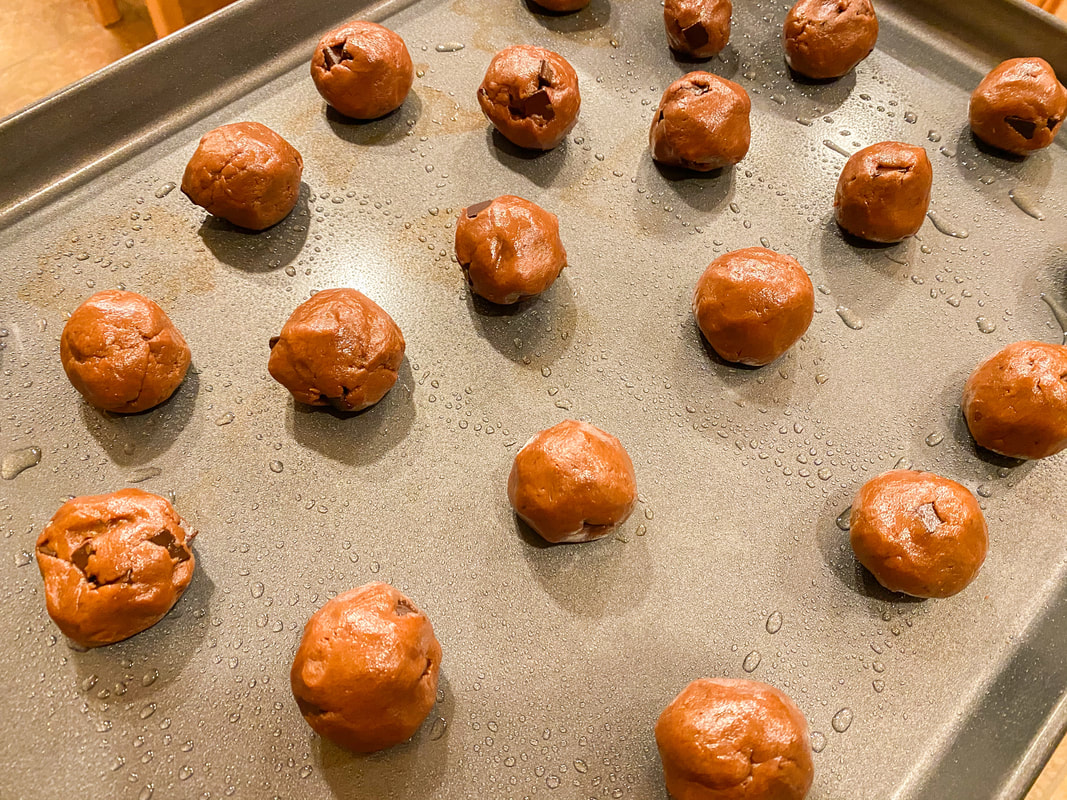 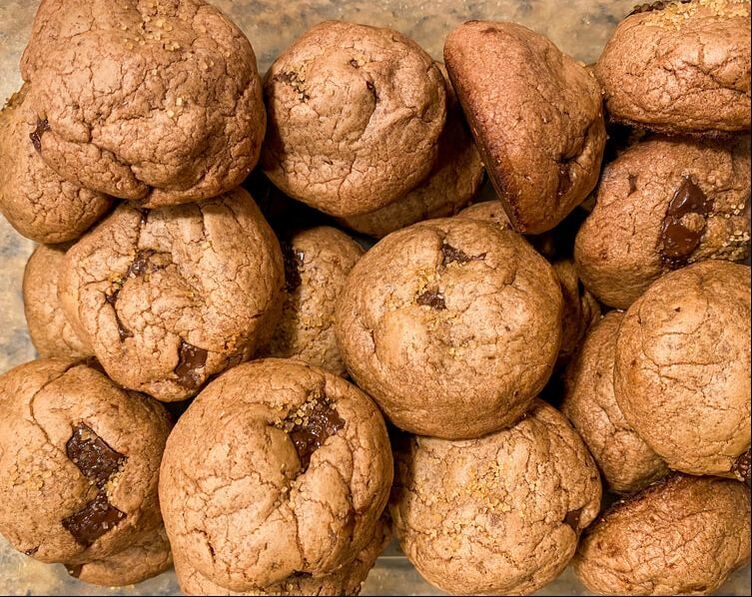
0 Comments
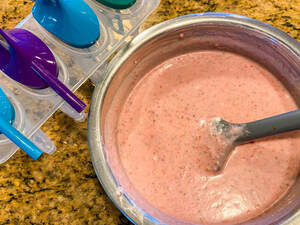
 If you follow me on Instagram, you know that I have a small sweet tooth ( ;) ). And you should also know by now that summer is my absolutely favorite season. So, why not indulge and make a little summer treat? These popsicles are super easy to make, and sure to please everyone in the family's palate! Ingredients:
I hope you enjoy this super simple, super delish summer treat!
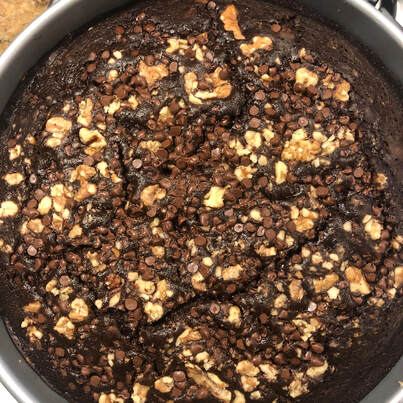
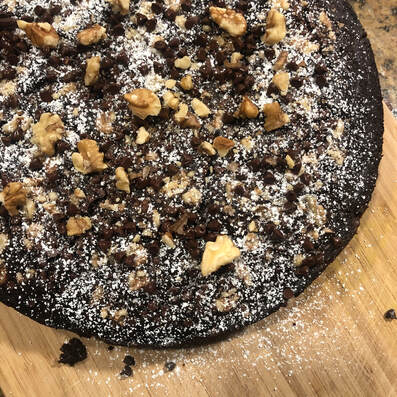
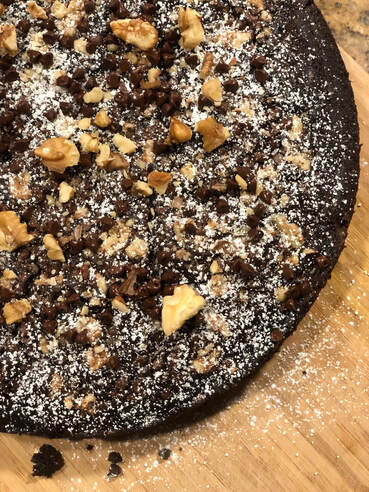 The classic, delicious, chocolate cake. Easy to come by, difficult to create the moist, decadent, fluffy texture we all seek. But, I think I've done it. I don't wish to belabor the point. Chocolate cake is good. This one is delicious. Ingredients:
  |
Thanks for stopping by to check out the latest and yummiest recipes on Nourish the Fire! Be sure to sign up on the home page to receive updates and latest offerings from Nourish the Fire. Enjoy!
Categories
All
|

 RSS Feed