Ingredients:
0 Comments
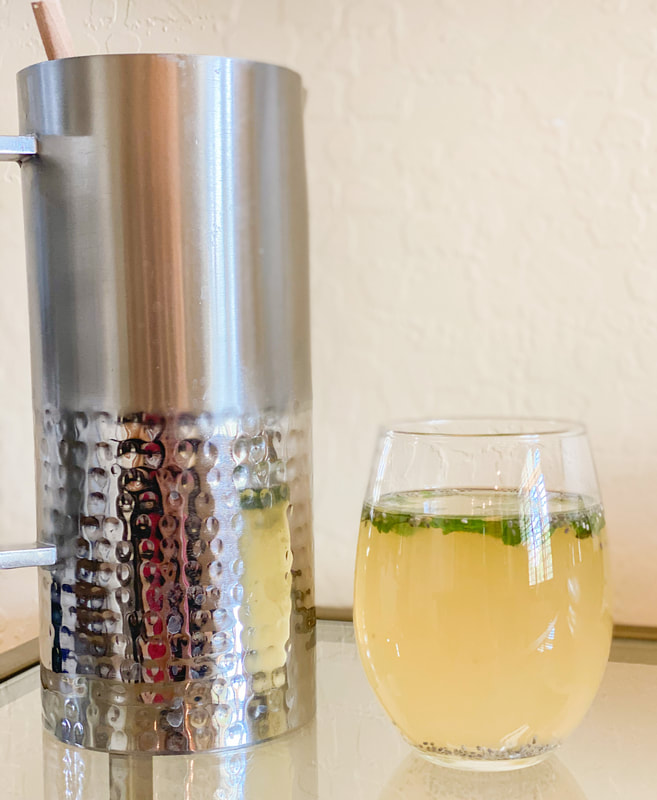
 Y'all. It's hot. Have you entered summer yet? Please do not take this as a complaint. I absolutely LOVE the summer. It's my favorite season. I love the heat. I love being outside. I love everything about summer. But, I'm not going to lie, I still get hot! Our first inclination can be to drink ALL the iced beverages to cool down, but that's actually not going to help at all. We have to find ways to cool down in other ways that don't harm our bodies. All foods have either heating or cooling properties. This is what we want to hone in on. I love this quick and easy refresher to make in the middle of summer. Not only is it super cooling and refreshing, it does a great job of truly hydrating the body, which is something we really need to do in the summer time. My general rule for hydration is getting in 1/2 your body weight in ounces. In the summer time, which is generally a dehydrating time, I would add in a few extra ounces. Hydration is super important for proper functioning and optimal health of all of our tissue systems. Without good hydration, your skin will be dry, you can have issues of constipation, and can even lead to cellular dehydration, and improper functioning of our kidneys and other organs! If you've ever had a consultation with me, you know that hydration is one of the bigger things I focus on. Ask any of my clients! I love this simple little refresher because it has foods in it that are cooling in nature, which helps with cooling our body temps in the heat, but they also allow for extra hydration and retention of water in the body...instead of just being flushed out. I hope you enjoy this as much as me and my family do! Ingredients:
 I love juice. I love fruit juices, veggie juices, you name it! It's so funny to me, how as the temperature changes and it gets hotter outside, my cravings switch. Our body is so amazing in how it naturally reacts and adjusts with our external environment.
From an Ayurvedic perspective, summer time is the perfect for raw foods. Hot temperature outside naturally creates an increase in the pitta dosha in the body. And, when pitta increases, the desire for lighter foods increases. This makes summer the best time to enjoy the salads and juices. Below, I've listed 3 great juice combinations to enjoy whether at home or at your local juicery. One thing to note is that if you feel as though your digestion is a little low, it's important to add in a few warming spices to ensure proper digestion. Raw foods (juices included) can be hard for the GI tract to process (contrary to popular belief), leading to indigestion, bloating, and gas. Adding a little ginger or turmeric is a great way to combat those effects. Juice One: Celery, Cucumber, Lime, Mint, Fresh Ginger Benefits: HYDRATION! Cucumber is a GREAT way to stay hydrated all summer long. Heat can be drying to our systems, even if we live in a humid environment. If we don't have proper hydration, then our internal systems don't have what they need to function appropriately. It's easy to say, but hard to remember--our bodies are 70%+ water! It needs water--not sodas or coffee. The other benefit to this one is that it chalk-full of cooling veggies. Ice isn't the answer to cooling our systems down. Using food and drinks that are cooling in nature are. Juice Two: Beets, Carrots, Apples, Turmeric Benefits: All 4 of these plants work directly on the liver to help cleanse and detox it. In Ayurveda, the liver is the seat of pitta. Remember, pitta is the energy of the summer. We need to help our liver (who, by the way does SO. MUCH. for our bodies), by helping release the heat and get things moving. One really easy rule in Ayurveda to remember, is if the color matches it, more than likely it will help that thing in your body. So, beets=red, blood=red, thus beets=blood. Easy! Juice Three: Papaya, Mango, Carrot, Turmeric, Fresh Ginger Benefits: papaya is a great fruit known for its digestive enzymes, This juice comes out a little thick, so it can be a little heavier than the other ones. Be aware that it can be slightly on the heating side, but the taste will be second to none. Mango is a great fruit for its mineral content (including zinc, magnesium, and potassium). All of the ingredients are a great source of beta-carotene, which is a great antioxidant for the body. This juice really can be great as a breakfast or dessert replacement! A few notes before we leave:
Happy Summer Juicing Everyone! |
Thanks for stopping by to check out the latest and yummiest recipes on Nourish the Fire! Be sure to sign up on the home page to receive updates and latest offerings from Nourish the Fire. Enjoy!
Categories
All
|


 RSS Feed