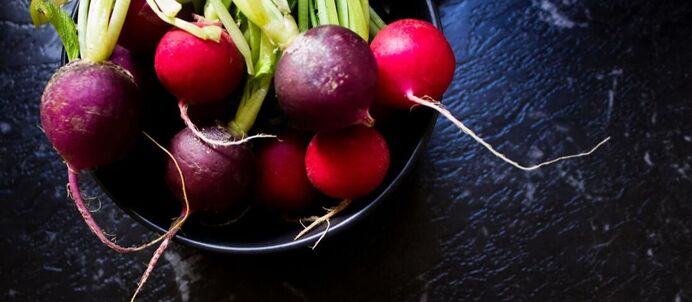
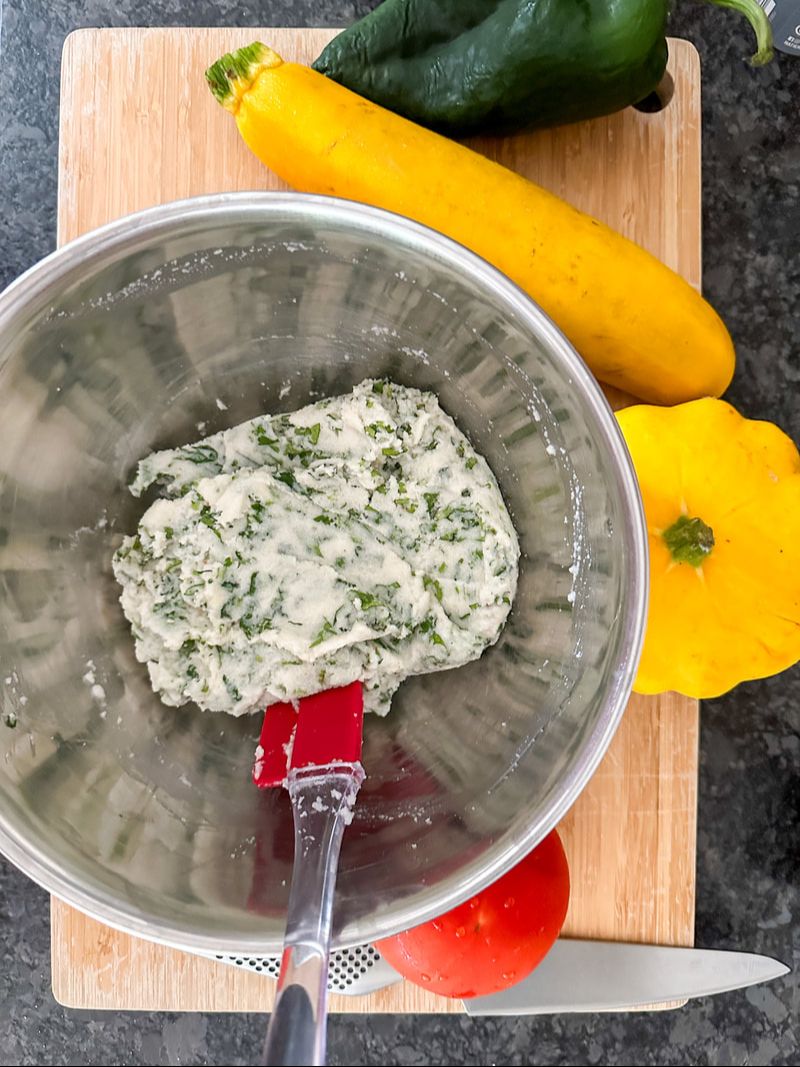
Ingredients:
0 Comments
Ingredients:
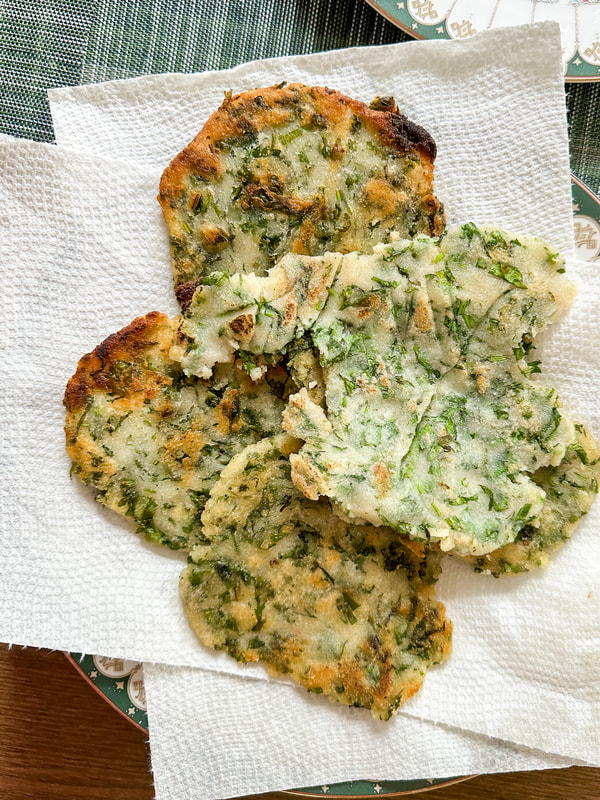
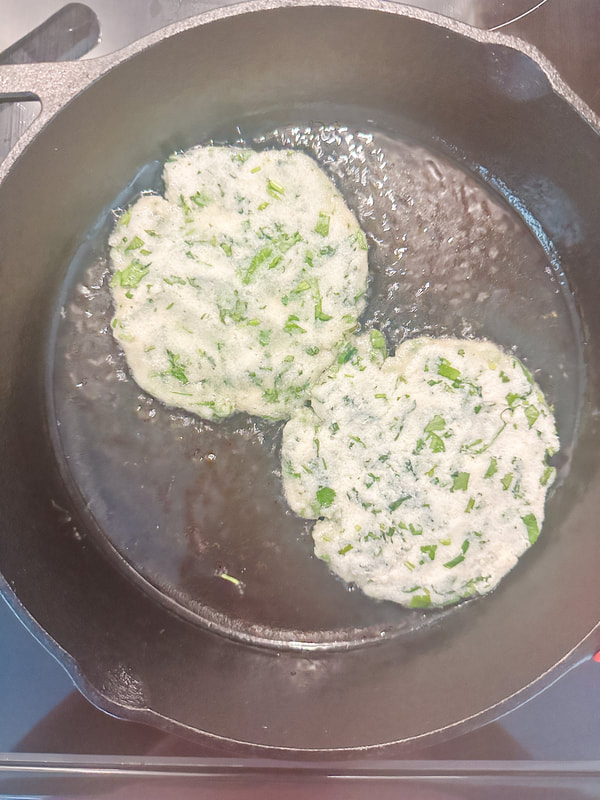
bon apetit
|
Thanks for stopping by to check out the latest and yummiest recipes on Nourish the Fire! Be sure to sign up on the home page to receive updates and latest offerings from Nourish the Fire. Enjoy!
Categories
All
|

 RSS Feed