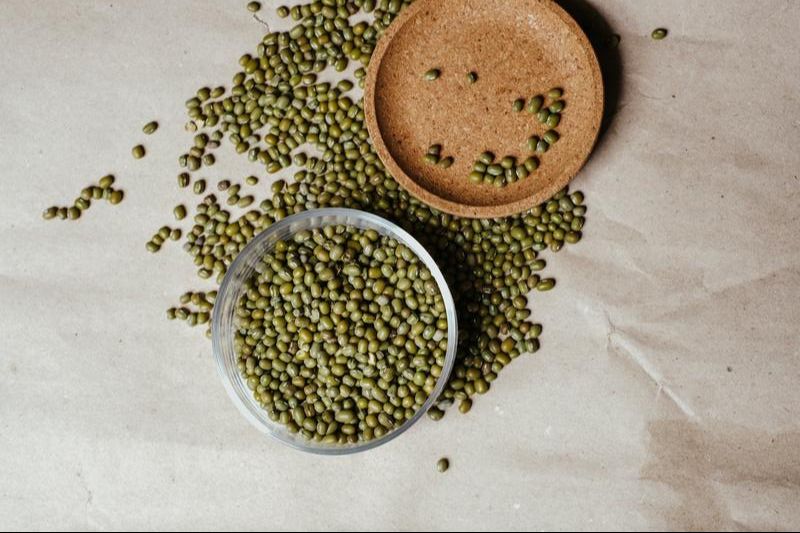
 I truly do not know why I haven't posted a recipe of Kitchari up until now. I recently hosted a class at Asheville's Love. Shine. Play festival, and talked all about it. Of course folks would want the recipe, so here we are!
Why do we love kitchari in Ayurveda? Well, truly the reasons are a million, but here are a few of the most important ones:
Ingredients:
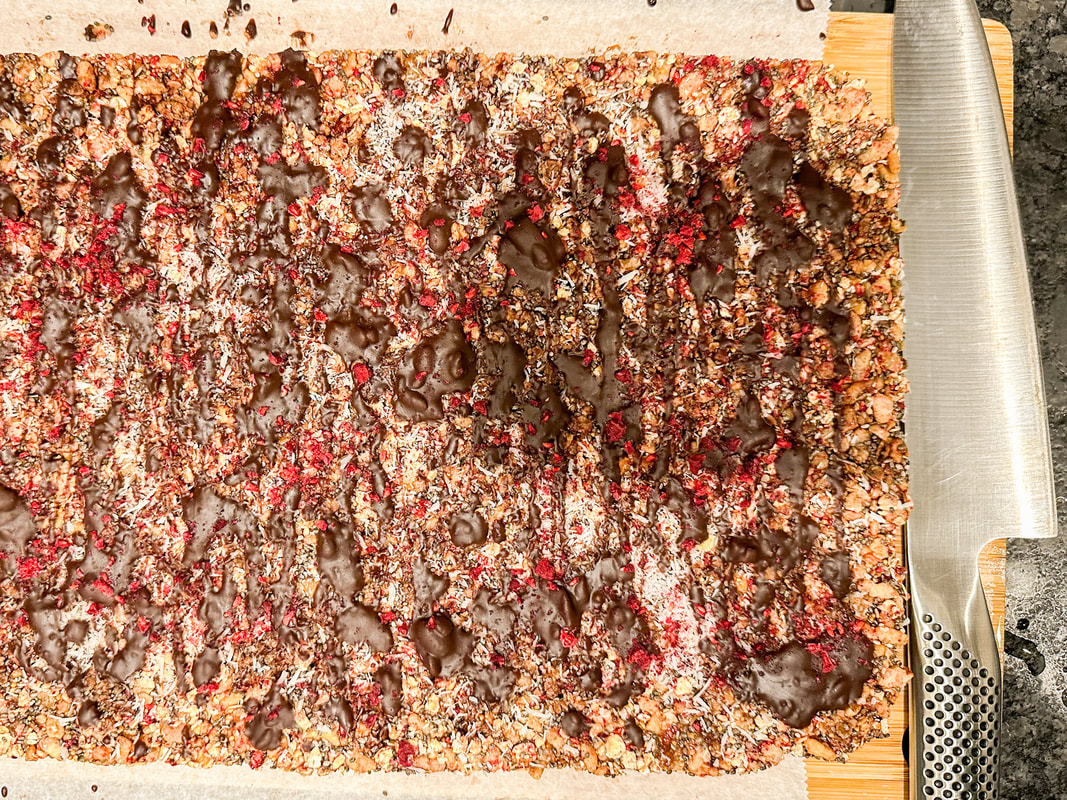
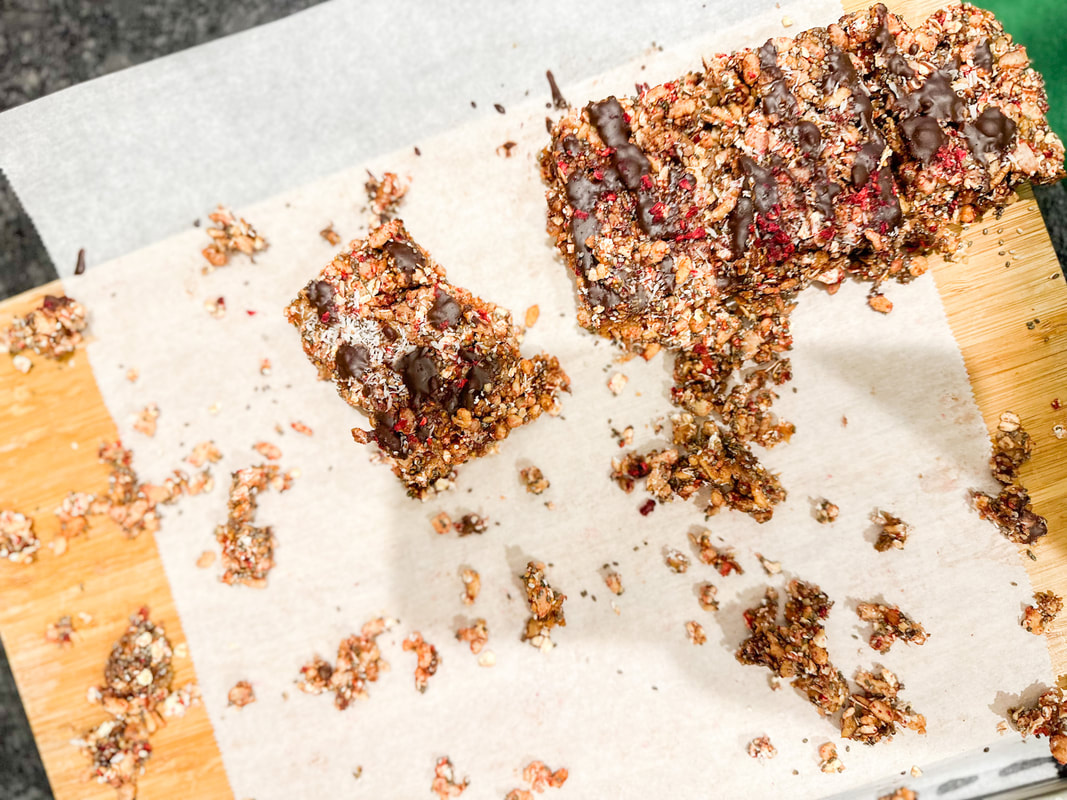
Notes:
0 Comments
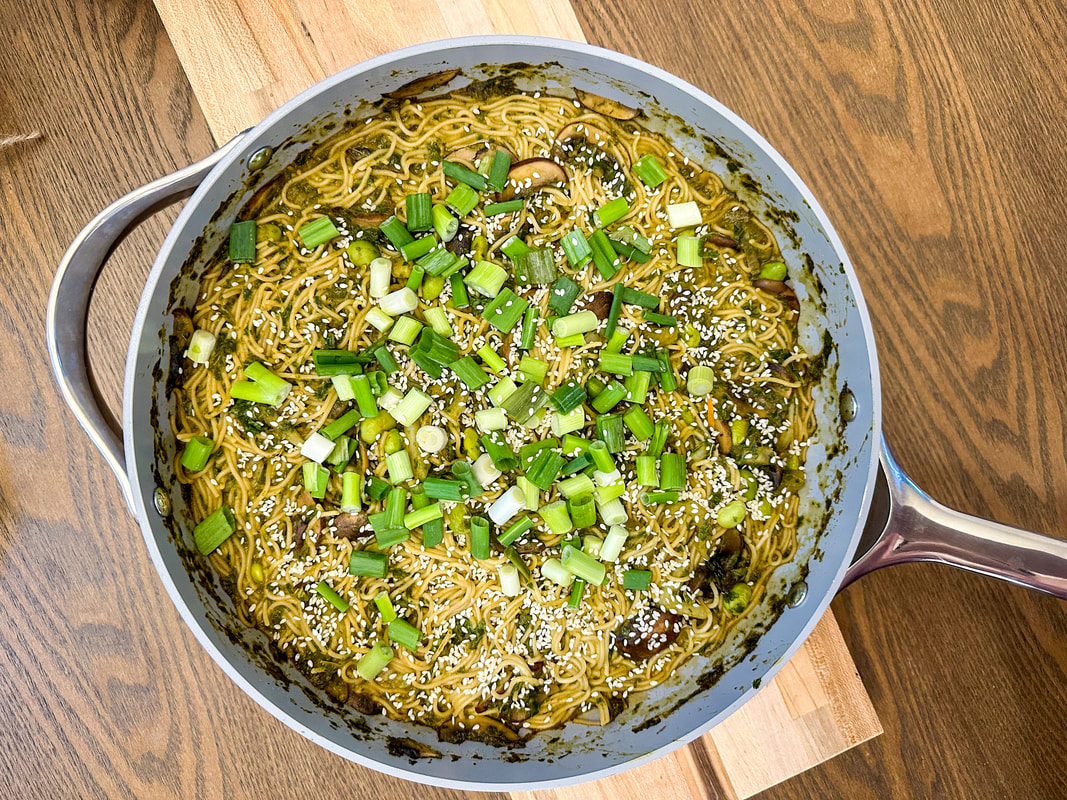
We love kale in Ayurveda. Kale supports:
Anywho, without further ado. Please enjoy this recipe as much as my husband and I did! Ingredients:
Recipe:
|
Thanks for stopping by to check out the latest and yummiest recipes on Nourish the Fire! Be sure to sign up on the home page to receive updates and latest offerings from Nourish the Fire. Enjoy!
Categories
All
|
 RSS Feed